Deflicker images for focus stacking with Magic Lantern and Lightroom
26 April 2014
I have a portable flash that is…unreliable. The net result of this is a change of exposure and color temperature between images when focus stacking with it. These subtle differences can cause brightness banding and color banding in a completed stack. While Zerene Stacker can compensate for changes in exposure, it still leaves shifts in color, and for larger shifts in exposure(I have seen up to 1EV for my sigma610) I find it better to correct the problem in RAW before converting to TIFF.
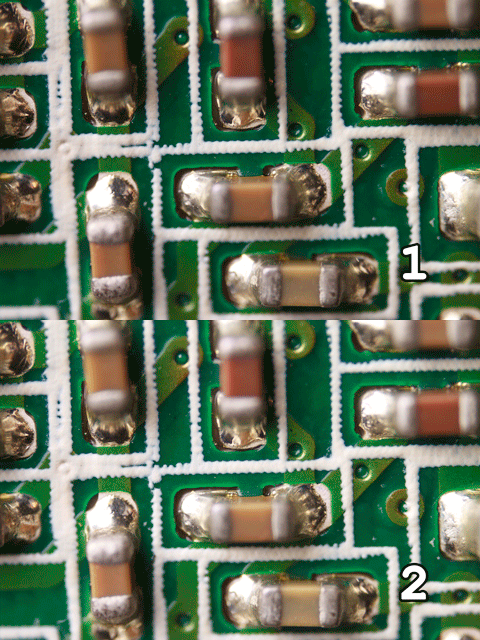
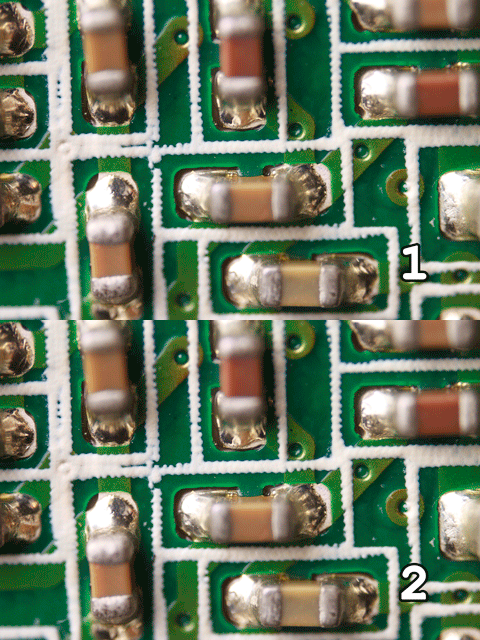
The current build of Magic Lantern includes a deflickering module. When enabled this will examine the image and write an .xmp(Lightroom or Adobe Camera Raw) or .ufr(UFRaw) sidecar file which can be read by RAW software to offset the exposure value.
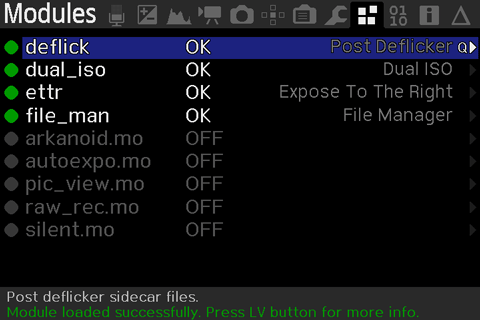
First enable the post deflicker module and file manager module in Magic Lantern.
Next we make sure that image review is turned on(2 seconds should be fine). When the image review screen pops up, Magic Lantern will use this to analyze the image and create the sidecar file.
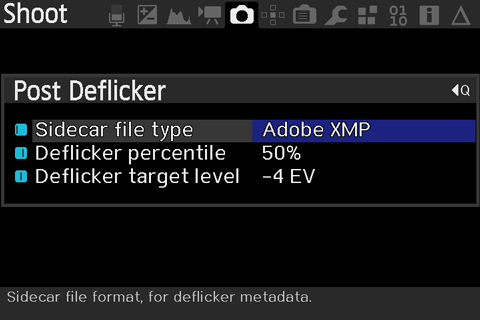
Finally we set up the module. Since I will be using Lightroom, I set it to XMP. Deflicker percentile is what part of the image it will use to deflicker. Deflicker target level will be the offset for the values. We will want to take a couple test shots to try and get it as close to 0 as we can.
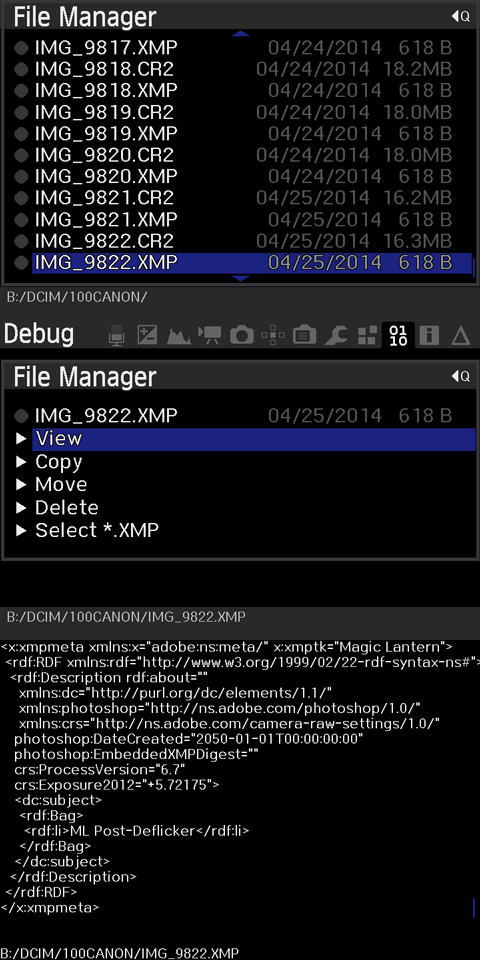
In the file manager, you can view the XMP file and check what the exposure value it will set will be. If your image is close to correctly exposed you will want to have the exposure2012 value as close to 0 as you can manage by adjusting the Deflicker target level.
At this point you are ready to shoot your sequence.
Once you are done, import into Lightroom as usual, and it should automatically import and read the XMP sidecar files. Now images have been deflickered from any changed in exposure. It is important now not to modify the exposure slider inside of Lightroom. When copy and pasting settings or syncing settings make sure that "Exposure" is unchecked, since values will be applied absolutely. Now to fix the slight shift in color temperature we set the white balance to auto on all photos by either copy and pasting settings or syncing the settings. When looking at the develop settings for each photos you should now notice difference values for exposure and color temperature across the series of images, and everything should appear uniform in brightness and color.
The white balance may not be set at what you want and the exposure values might not be exactly where you desire. Since Lightroom can not offset values relative to their current value, we have to do this some other way. Luckily it isnt very hard.
Method 1: In Lightroom go to the Graduated filters and drag on out outside of the image, so that the whole image is effected by it and there is no gradient on the image. Then you can simply adjust the exposure and color temperature on the graduated filter. Once you are done, copy and paste the filter to all other photos.
Method 2: We need to install ExifTools. In Lightroom now, select your photos and go to Photos>Save Metadata to File while in the library module. This writes XMP files to the directory the images are in. Now you can open up terminal or command prompt and paste the following:
exiftool -Exposure2012+=+0.00 -WhiteBalance="Custom" -ColorTemperature+=+0 -Tint+=+0 -ext xmp /FolderToXMP
Where "+0.00" is, type the offset amount for your exposure value. If you want to subtract 1.2EV, then it should look like "-Exposure2012+=-1.2". The same goes for "+0" for Color Temperature and Tint. The "WhiteBalance" tag changes the dropbox in Lightroom from "Auto" to "Custom" so that the change to white balance will update as expected. Where "/FolderToXMP" is put the location to where the images are.
Now in Lightroom go to Photo>Read Metadata from File. Changes will now appear and value will be offset.
Using exiftool gives you another bonus you can do. You can write out the values to CSV and modify them or examine the values with a spreadsheet. The following command will give you a CSV with exposure, color temperature, and tint values.
exiftool -csv -Exposure2012 -ColorTemperature -Tint -ext xmp /FolderToXMP > /FolderToWriteFile/list.csv
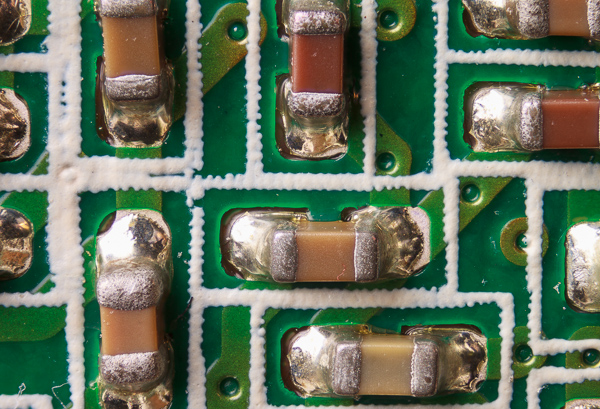
For this image for example, I know the standard deviation for exposure is ~0.17EV with a color shift of 43.6K.
